



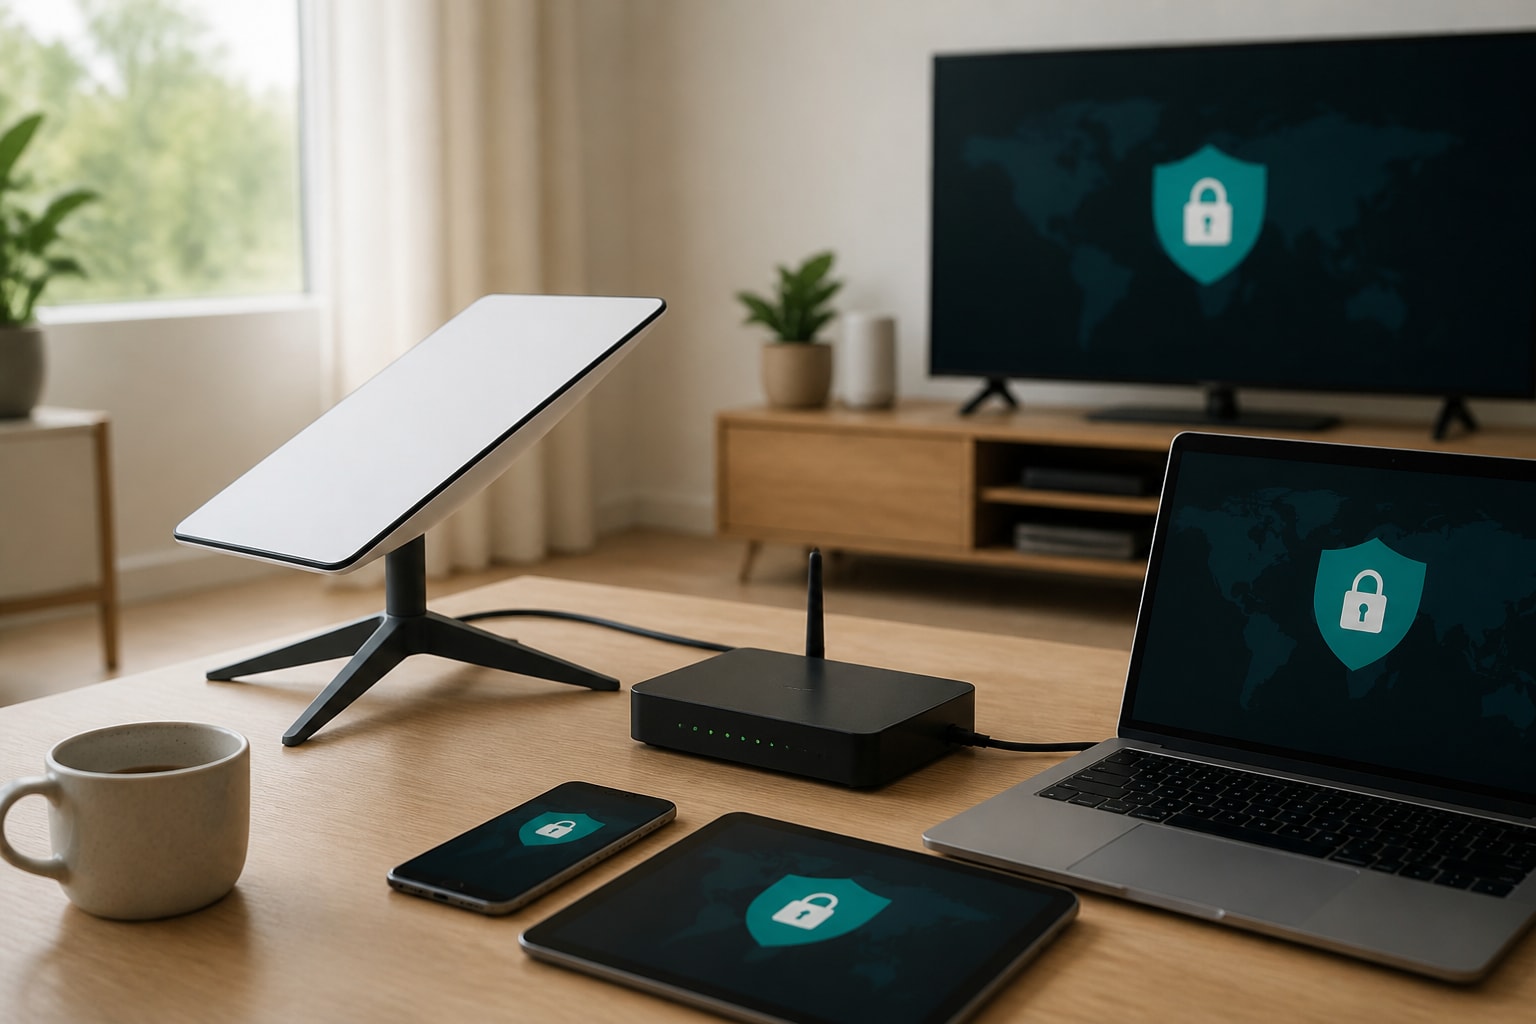
A reliable way to run a VPN router for Starlink is to place your own VPN-capable router behind the Starlink dish, put the Starlink router into bypass mode, and configure the VPN connection on the new router so every device on your network is encrypted automatically. Starlink's own hardware has no built-in VPN client, so protection has to come from either each device or a third-party router you control.
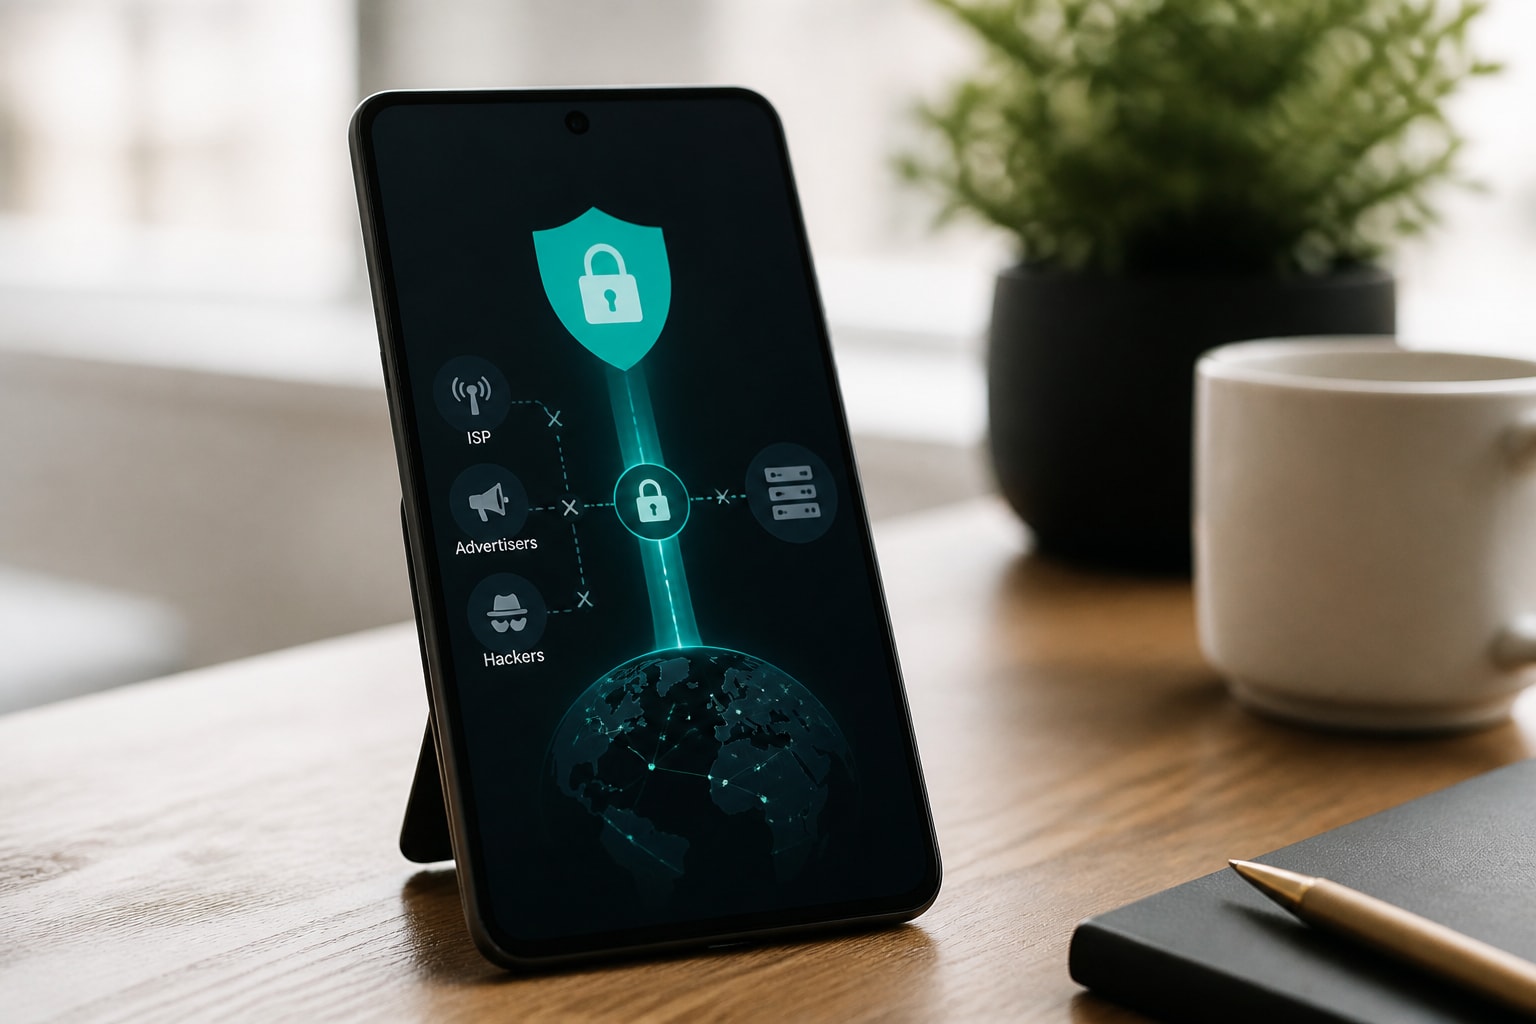
For privacy-conscious users, the router approach has a clear advantage. Smart TVs, consoles and IoT gadgets cannot run a VPN app, and a router-level tunnel keeps your ISP, advertisers and anyone on the path from reading or profiling that traffic. The sections below cover what Starlink permits, which hardware you need, the exact setup steps, and how to fix the problems that most often appear.
Can You Use a VPN With Starlink?
Yes, a VPN works with Starlink on every plan, and Starlink maintains a Help Center page about using a VPN with the service. The satellite link carries encrypted traffic the same way a cable or fiber line does, so the tunnel itself is generally not blocked.
Two details are worth understanding before you buy anything:
- Starlink does not provide a VPN. The network connects you to the internet; it does not hide your activity from the sites you visit or from network operators upstream.
- Performance depends on the tunnel, not the dish. Satellite latency is already higher than fiber, so a distant VPN server adds to a delay that is already noticeable.
If you only need protection on a laptop or phone, a device-level app is enough. A router makes sense when you want every connected device covered without installing anything, or when you want a single place to control the connection. For a broader look at the tradeoffs, see this explanation of how a VPN network works.
Is It Worth Putting a VPN on a Router?
A VPN on a router is worth it when you have several devices, devices that cannot run VPN apps, or a household that should be protected without relying on each person to connect manually.
The benefits are practical:
- One tunnel covers everything. Streaming boxes, smart TVs, consoles and guest devices all inherit the encryption.
- No per-device connection limits to manage. The router holds one connection on behalf of the whole network.
- Central control. You change servers, protocols or kill switch behavior in one interface.
The drawbacks are real as well. Router CPUs are slower at encryption than a modern laptop, so throughput can drop on lower-end hardware. Everything on the network shares one VPN exit location, which can be inconvenient when you want a local service on one device and a foreign server on another. Many routers support policy-based routing to solve this, and our guide to VPN and home network design goes deeper on splitting traffic by device.
What You Need Before Setting Up a VPN Router for Starlink
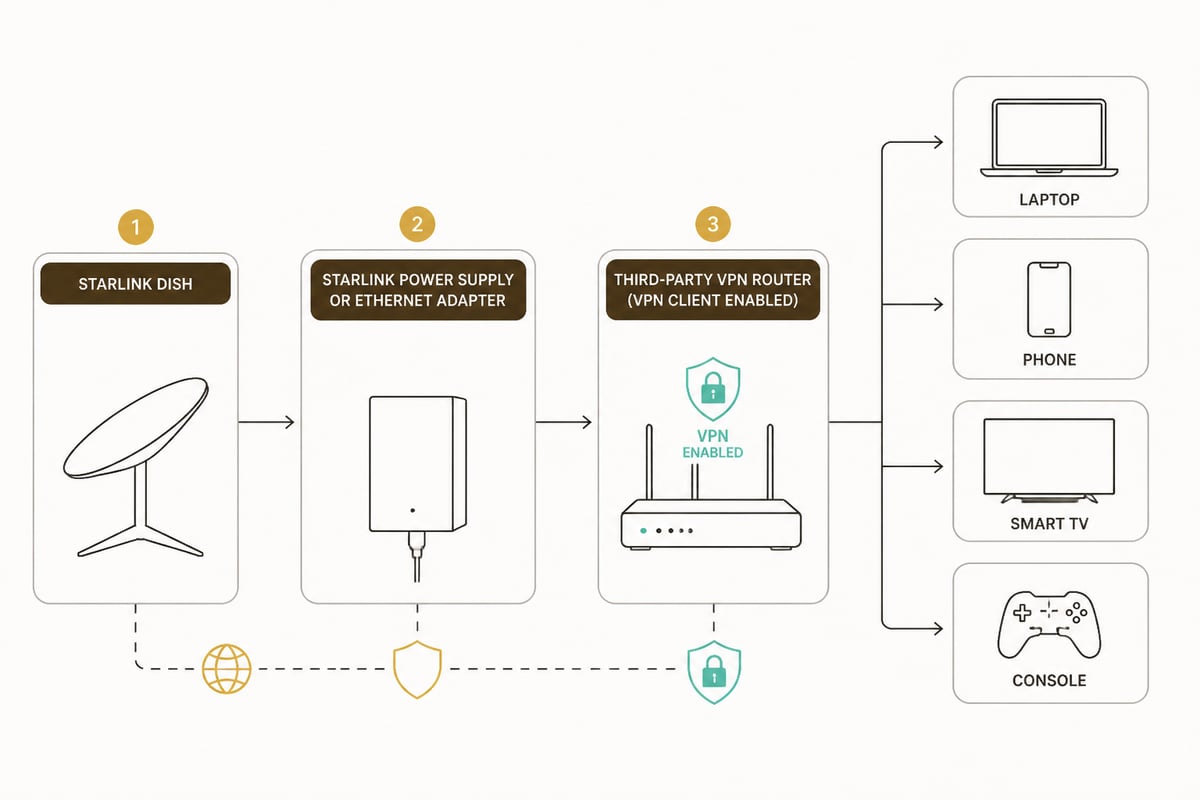
A working setup requires four things: a Starlink kit, a router that supports VPN client mode, an Ethernet connection between them, and a VPN subscription that provides OpenVPN or WireGuard configuration files.
1. A compatible Starlink connection. According to Starlink Support, Standard Actuated kits need a Starlink Ethernet Adapter to connect a third-party router, while current Standard kits have Ethernet built into the power supply. Check which kit you own before ordering anything.
2. A router with a VPN client. Look for native OpenVPN or WireGuard client support in the stock firmware, or a model supported by open-source firmware. Starlink is clear that it supports third-party routers but does not guarantee their performance or compatibility, and some features in the Starlink app may not work as expected once you use one.
3. A VPN with router-friendly configuration. You need downloadable config files or manual credentials, plus an automatic kill switch so traffic stops if the tunnel drops. ZioFree VPN Monthly provides unlimited bandwidth and access to all servers, which matters on a router because every device on your network draws from the same subscription.
4. An Ethernet cable and basic admin access. You will log in to the router's web interface to enter settings.
How to Set Up a VPN Router for Starlink Step by Step
Setting up a VPN router for Starlink takes six steps: connect the hardware, set the WAN to DHCP, enable bypass mode, confirm internet access, load the VPN profile, and route your devices through the tunnel.
- Connect the router to Starlink. Plug an Ethernet cable from the Starlink Ethernet port (or adapter) into the WAN port of your router. Power everything on and wait for the dish to establish a connection.
- Set the WAN type to DHCP. Starlink Support instructs users to set a third-party router's WAN interface to DHCP so it receives an IP address automatically. Leave PPPoE and static options alone.
- Enable bypass mode. In the Starlink app, switch the Starlink router to Bypass Mode. Per the Starlink Help Center, this disables the Starlink router's Wi-Fi so your own router manages the network, and turning it off later requires a factory reset. Decide deliberately before you enable it.
- Confirm normal internet works first. Test a few sites without the VPN. Isolating basic connectivity now saves troubleshooting time later.
- Import the VPN profile. Open the router's VPN client page, upload the OpenVPN or WireGuard configuration from your provider, and enter your credentials. Choose a nearby server for lower latency.
- Enable the kill switch and test. Turn on the router's kill switch or "block traffic if VPN is down" option, then check your public IP address and run a DNS leak test.
If your router interface is unfamiliar, the walkthrough on how to set up a VPN with a router covers the generic steps across common firmware.
Which VPN Router Features Matter Most With Starlink
The most useful features are hardware that handles encryption quickly, WireGuard and OpenVPN support, per-device routing rules, and a reliable kill switch.
Use this checklist when comparing models:
- WireGuard support. It is lighter than OpenVPN and tends to keep speeds higher on modest router CPUs.
- Hardware encryption or a fast processor. Starlink plans can deliver speeds that weak router chips cannot encrypt at full rate.
- Policy-based routing. This lets you send a gaming console through the tunnel while a work laptop stays direct.
- Wi-Fi 6 or Wi-Fi 7. Not required for the VPN, but the Starlink router's own Wi-Fi is no longer in play once bypass mode is on, so your new router sets your wireless ceiling.
- Firmware updates. A router that stops receiving security patches undermines the privacy you are trying to build.
Whichever model you pick, remember the DNS side. A tunnel that sends web traffic through the VPN while DNS queries leave through Starlink exposes the sites you visit. Set the router to use the VPN provider's DNS, or force all DNS through the tunnel.
Router-Level VPN or App on the Device?
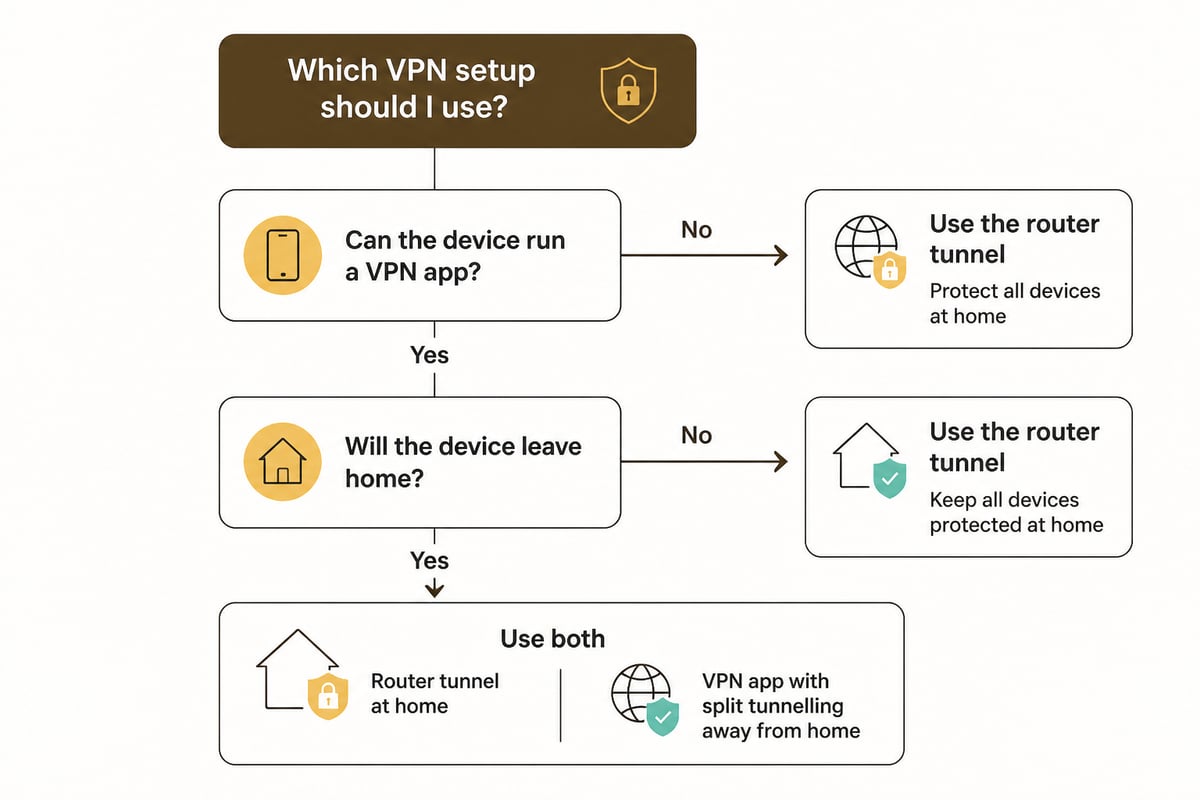
A router-level VPN protects every device automatically, while an app on each device gives finer control and usually better speed, so many Starlink users combine the two.
| Factor | VPN on router | VPN app on device |
|---|---|---|
| Covers smart TVs and consoles | Yes | No |
| Setup effort | Higher, one time | Low per device |
| Speed on weak hardware | Can be limited by router CPU | Usually faster |
| Per-app control | Limited | Strong, such as split tunnelling |
| Works when traveling | Only at your Starlink location | Anywhere |
The device app is the better choice for a phone or laptop that leaves the house. A device app with split tunnelling lets you send only selected apps through the VPN on a laptop while the router handles everything else. Running both at once is generally unnecessary, since double-encrypting traffic adds delay without extra privacy benefit.
Why Your VPN Is Not Working With Starlink
When a VPN stops working on a Starlink connection, the cause is usually double NAT, a wrong WAN setting, an overloaded router CPU, or a blocked protocol, and each has a quick fix.
- Double NAT. If bypass mode is off, the Starlink router and your router both translate addresses, which breaks some VPN handshakes. Enable bypass mode so only one device performs NAT.
- WAN not set to DHCP. A static or PPPoE setting prevents the router from getting an address, so nothing connects.
- Slow speeds after the tunnel starts. Switch from OpenVPN to WireGuard, try a closer server, or choose a router with a stronger processor.
- Frequent disconnects. Satellite handoffs can briefly interrupt a session. Use UDP rather than TCP, and enable automatic reconnect and the kill switch so traffic never leaks during a drop.
- Some sites or services fail. Try a different server location, since certain services block known VPN IP ranges.
- Starlink app features missing. This is expected with a third-party router. Starlink notes that some app features may not function as normal.
For connection stability on unreliable links, the notes on VPN protocol and port choices explain why switching ports or protocols often clears a stubborn tunnel.
Privacy and Security Settings Worth Checking
A router tunnel is only as private as the provider behind it and the settings you apply, so verify the logging policy, the kill switch and the DNS path before relying on it.
Start with the provider. ZioFree states that it follows a strict no-logs policy and uses advanced security protocols, and it describes strong encryption across its VPN service. Those properties matter on a router because the tunnel is always on, which makes it the main barrier between your household and the network operators that can see unencrypted traffic. A deeper look at what that policy means in practice is in this overview of no-log VPN services.
Then harden the router itself:
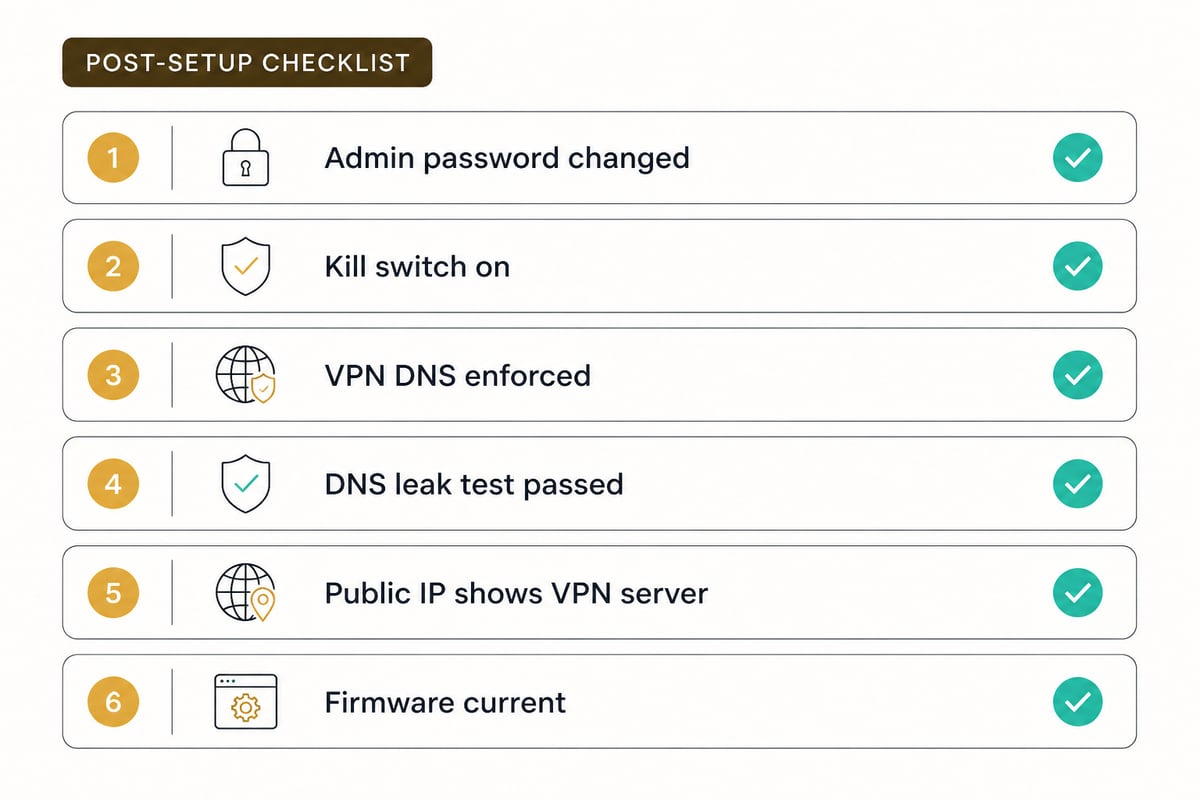
- Change the default admin password and disable remote administration.
- Turn on the automatic kill switch so a dropped tunnel cuts traffic instead of exposing it.
- Run a DNS leak test and an IP check after every configuration change.
- Keep firmware updated and disable features you do not use, such as UPnP.
FAQ
What VPN can I use with Starlink?
Any VPN that offers OpenVPN or WireGuard support and does not restrict router use will work, because Starlink does not block VPN traffic. Choose a provider with a strict no-logs policy, strong encryption, an automatic kill switch and no bandwidth cap, since a router can move a lot of data.
Do I need a VPN if I use Starlink?
Starlink does not hide your browsing from the sites you visit or from advertisers that track you, so a VPN is still useful if you want to limit tracking and interception. A VPN adds encryption between your devices and the VPN server, which reduces what network operators and anyone on the path can observe.
Does a VPN slow down Starlink?
Some slowdown is normal, since encryption adds processing and the route to a VPN server adds distance. Using WireGuard, a nearby server and a router with a capable processor keeps the loss small for most households.
Start by checking whether your Starlink kit has built-in Ethernet or needs the adapter, then confirm that your router offers a VPN client before you buy anything else. Once the hardware is ready, a provider with RAM-only servers, AES-256 encryption and an automatic kill switch gives the tunnel a solid foundation, and ZioFree VPN Monthly gives access to all servers. When you are ready to protect every device on your Starlink network, ZioFree makes it simple to get started now.